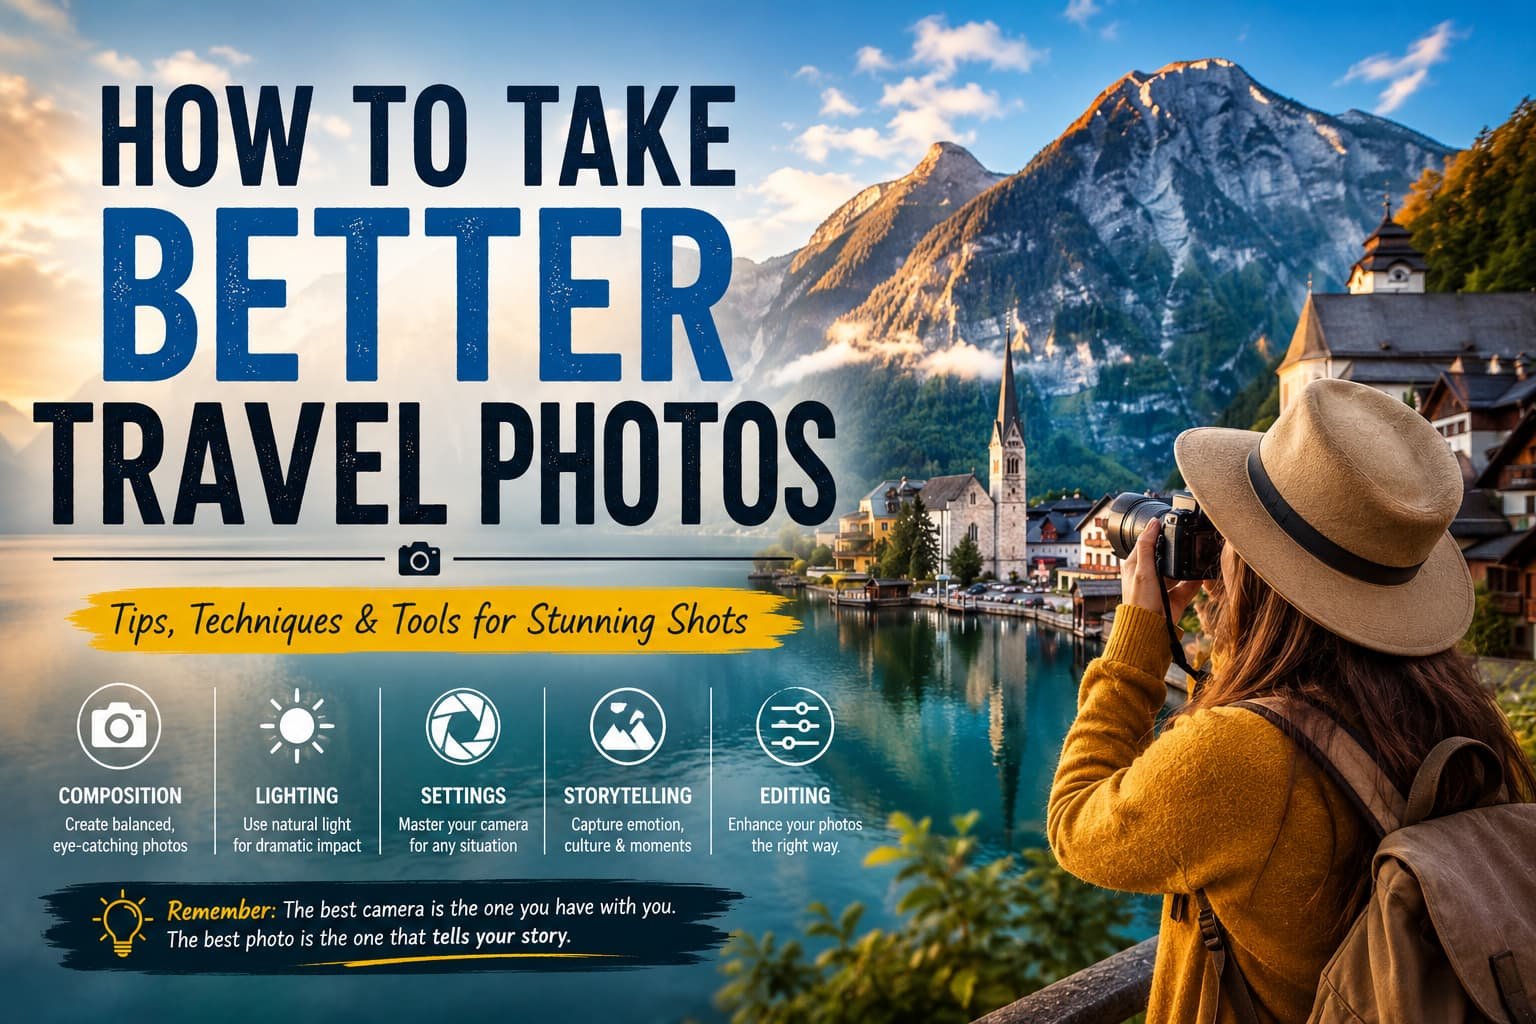
Have you ever returned from an incredible trip only to realize your photos didn’t do the destination justice? I certainly have.
A few years ago, I visited a breathtaking mountain viewpoint just before sunrise. Standing there, I thought, “This is going to be my best photo ever.” But when I got home, the image looked flat, dark, and honestly… pretty disappointing. That’s when I realized taking great travel photos isn’t about visiting beautiful places—it’s about knowing how to capture them.
Since then, I’ve spent countless hours learning photography techniques, experimenting with different cameras and smartphones, and practicing during every trip. In my 3 weeks of testing different photography techniques on a recent vacation, I discovered that even small changes—like adjusting composition or waiting for better light—can completely transform an ordinary picture into one you’ll proudly share.
Whether you’re using an iPhone, Samsung Galaxy, Google Pixel, Sony camera, Canon DSLR, Nikon mirrorless, or Fujifilm camera, these tips will help you take better travel photos that truly tell the story of your adventures.
Why Travel Photography Matters
Travel photography is more than collecting pictures for Instagram.
Every photo becomes a memory.
Years later, you’ll forget small details about a trip, but one great image can instantly bring back the sounds, emotions, and excitement of that moment.
What I love most about travel photography is that it encourages me to slow down. Instead of rushing from one attraction to another, I pay attention to light, colors, architecture, and people. Ironically, trying to take better photos has actually made me enjoy traveling even more.
Understand Your Camera Before You Travel
One of the biggest mistakes travelers make is learning their camera after arriving at the destination.
My biggest concern was always missing once-in-a-lifetime moments because I couldn’t find the right setting quickly enough. Fortunately, spending just an hour practicing before my trip solved that problem completely.
Whether you use a smartphone or dedicated camera, become familiar with:
- Portrait Mode
- Night Mode
- HDR
- Burst Mode
- Manual or Pro Mode
- Exposure controls
- Focus lock
- Zoom limitations
Modern smartphones are incredibly powerful. In many situations, they can produce professional-looking travel photos without carrying heavy equipment.
Choose the Right Time of Day
Lighting is everything.
Professional photographers often talk about the “Golden Hour,” which occurs shortly after sunrise and before sunset.
During these times:
- Shadows become softer.
- Colors appear richer.
- Skin tones look natural.
- Landscapes gain beautiful depth.
I was skeptical at first, but after comparing midday photos with sunrise shots from the same location, the difference was astonishing.
Whenever possible, avoid shooting under harsh afternoon sunlight.
If you have no choice, look for shaded areas or use HDR mode.
Master Composition Instead of Buying Expensive Gear
Many people believe expensive cameras automatically create better photos.
They don’t.
Composition matters far more.
Use the Rule of Thirds
Imagine your screen divided into nine equal squares.
Place your subject where the lines intersect instead of directly in the center.
This simple adjustment instantly creates more balanced and visually appealing images.
Add Foreground Interest
One trick I use frequently is placing something interesting in the foreground.
Examples include:
- Flowers
- Rocks
- Coffee cups
- Boats
- Trees
- Archways
Foreground elements create depth and make viewers feel like they’re standing there with you.
Look for Leading Lines
Roads, rivers, bridges, staircases, fences, and railways naturally guide the viewer’s eye through your image.
Leading lines add movement and storytelling to travel photography.
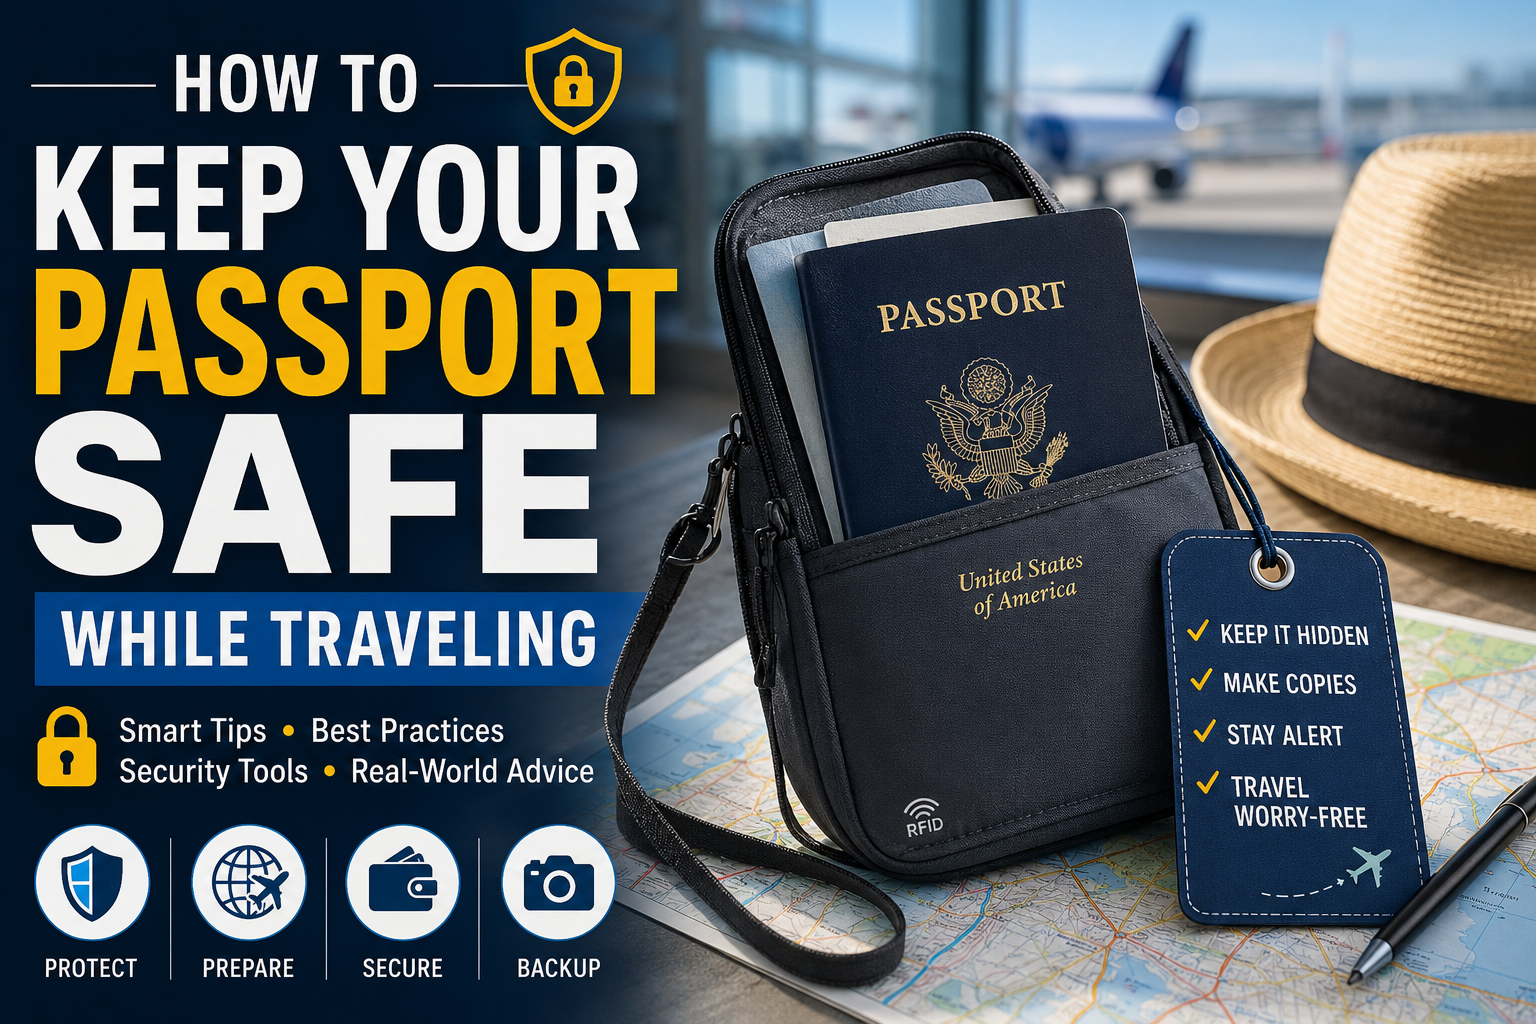
See More: How to Keep Your Passport Safe While Traveling
Tell a Story Instead of Taking Random Pictures
The best travel photos communicate emotion.
Rather than photographing only famous landmarks, capture the entire experience.
Think about including:
- Local markets
- Street musicians
- Traditional food
- Friendly locals
- Transportation
- Hotel details
- Morning coffee
- Unexpected moments
Some of my favorite travel photos aren’t from famous landmarks at all—they’re candid moments while exploring quiet neighborhoods.
Those pictures often bring back stronger memories than postcard views.
Include People in Your Photos
Empty landscapes can be beautiful.
But adding a person creates scale, emotion, and storytelling.
Even a silhouette standing on a mountain can completely change the feeling of a photo.
If you’re traveling solo, use:
- A tripod
- Bluetooth remote shutter
- Camera timer
- Small travel tripod
Don’t be afraid to ask another traveler to take your picture.
Most people are happy to help.
Keep Your Lens Clean
This sounds obvious.
Yet I constantly forget.
After comparing with my previous travel photos, I noticed many looked soft simply because my phone lens had fingerprints.
Now my daily routine includes wiping my camera lens before taking important photos.
It takes five seconds and makes a surprisingly noticeable difference.
Learn Basic Camera Settings
If your camera offers Manual or Pro Mode, understanding a few settings helps dramatically.
ISO
Keep ISO as low as possible.
Lower ISO means:
- Less image noise
- Better detail
- Cleaner photos
Shutter Speed
Fast shutter speeds freeze movement.
Slow shutter speeds create artistic motion blur for waterfalls or city lights.
Aperture
A wider aperture creates blurry backgrounds that help subjects stand out.
Landscape photography usually benefits from smaller apertures for greater sharpness.
Don’t Overuse Zoom
Digital zoom often reduces image quality.
Instead:
- Walk closer.
- Crop later during editing.
- Use optical zoom if available.
This simple habit consistently produces sharper photos.
Edit Your Photos Naturally
Editing isn’t cheating.
It’s simply the digital version of developing film.
I usually make small adjustments rather than dramatic transformations.
Popular editing apps include:
- Adobe Lightroom Mobile
- Snapseed
- VSCO
- Photoshop Express
- Google Photos
My editing process usually includes:
- Slight exposure adjustment
- Contrast improvement
- White balance correction
- Small crop
- Color enhancement
- Sharpening
The goal is making the photo look like what you actually experienced.
Capture Local Culture
Beautiful destinations aren’t just about landscapes.
Photograph:
- Street food
- Local festivals
- Traditional clothing
- Handmade crafts
- Public transportation
- Daily life
Always be respectful when photographing people.
When possible, ask permission first.
A smile often goes a long way.
Pack the Right Photography Gear
You don’t need a backpack full of expensive equipment.
Here’s what I actually carry:
- Smartphone or mirrorless camera
- Extra batteries
- Memory cards
- Compact tripod
- Lens cleaning cloth
- Power bank
- Lightweight camera bag
I’ve learned that traveling light means I’m far more likely to actually use my camera throughout the day.
Avoid These Common Travel Photography Mistakes
Everyone makes mistakes—including me.
Here are the biggest ones I’ve experienced.
Taking Too Many Photos
Hundreds of nearly identical images become overwhelming later.
Instead, slow down.
Think before pressing the shutter.
Quality always beats quantity.
Ignoring the Background
I’ve accidentally captured trash bins, power lines, random tourists, and awkward signs more times than I’d like to admit.
Before taking the shot, quickly scan the background.
Only Shooting Eye-Level Photos
Try different perspectives.
Get lower.
Climb higher.
Shoot through windows.
Use reflections.
Creative angles instantly make photos more interesting.
Best Travel Photography Tips for Smartphones
Modern smartphones are incredible travel companions.
To maximize image quality:
- Enable HDR.
- Shoot in RAW if available.
- Use Portrait Mode carefully.
- Tap to focus.
- Adjust exposure manually.
- Avoid excessive filters.
- Keep software updated.
Many award-winning travel photos today are captured entirely on smartphones.
Quick Travel Photography Checklist
Before pressing the shutter, ask yourself:
- Is the lighting good?
- Is my lens clean?
- Is the horizon straight?
- Does the photo tell a story?
- Is there unnecessary clutter?
- Can I improve the composition?
- Would waiting another minute improve the light?
These questions have saved countless photos during my travels.
Why Practice Matters More Than Equipment
One lesson I’ve learned after years of experimenting is this:
Great photographers aren’t simply born with talent.
They practice.
Some of my favorite travel images were taken with a smartphone, while some disappointing ones came from expensive cameras.
The difference wasn’t the equipment.
It was patience, observation, and understanding light.
Final Thoughts
Learning how to take better travel photos isn’t about becoming a professional photographer overnight. It’s about developing habits that help you notice the little details—a beautiful reflection after rain, golden sunlight on an old building, or the smile of a local vendor. Those moments often become the photos you’ll treasure the most.
In my experience, the biggest improvements came from slowing down, practicing composition, and understanding natural light rather than buying expensive gear. With a little patience and creativity, anyone can capture meaningful images that tell a story.
So on your next adventure, don’t just snap pictures—create memories you’ll enjoy looking back on for years to come.
Frequently Asked Questions
What is the best camera for travel photography?
The best camera is the one you’ll actually carry. Modern smartphones are excellent for most travelers, while mirrorless cameras offer more control and image quality for enthusiasts.
How can I take better travel photos with my phone?
Clean the lens, use natural light, avoid digital zoom, enable HDR, focus manually, and edit your images lightly using apps like Lightroom or Snapseed.
What time is best for travel photography?
Golden Hour—shortly after sunrise and before sunset—is generally the best time because the light is softer, warmer, and more flattering for landscapes and portraits.
Share Your Experience
Do you have a favorite travel photography tip or a memorable photo story? I’d love to hear about it! Share your thoughts, favorite camera gear, or editing tricks in the comments. Your experience might inspire someone else’s next adventure.