
For serious gamers, switching to a 120Hz monitor is one of those upgrades you instantly feel. The first time I moved from 60Hz to 120Hz gaming, everything looked smoother, aiming felt more responsive, movement became cleaner, and competitive games suddenly felt easier to control.
But here’s the thing many people overlook: simply buying a 120Hz monitor does not guarantee a smooth 120Hz experience.
Your gaming PC also needs to deliver stable frame rates, low input lag, and proper refresh rate synchronization. Otherwise, your expensive monitor may still feel like a standard 60Hz display.
In my experience, optimizing a gaming PC for 120Hz gaming is not only about having a powerful GPU. It’s about balancing hardware, Windows settings, graphics drivers, cooling, and in-game tweaks to maintain a consistent 120 FPS.
After testing different gaming setups, tweaking Windows 11 settings, and troubleshooting FPS drops myself, I’ve learned that even small optimizations can make a huge difference in gameplay smoothness.
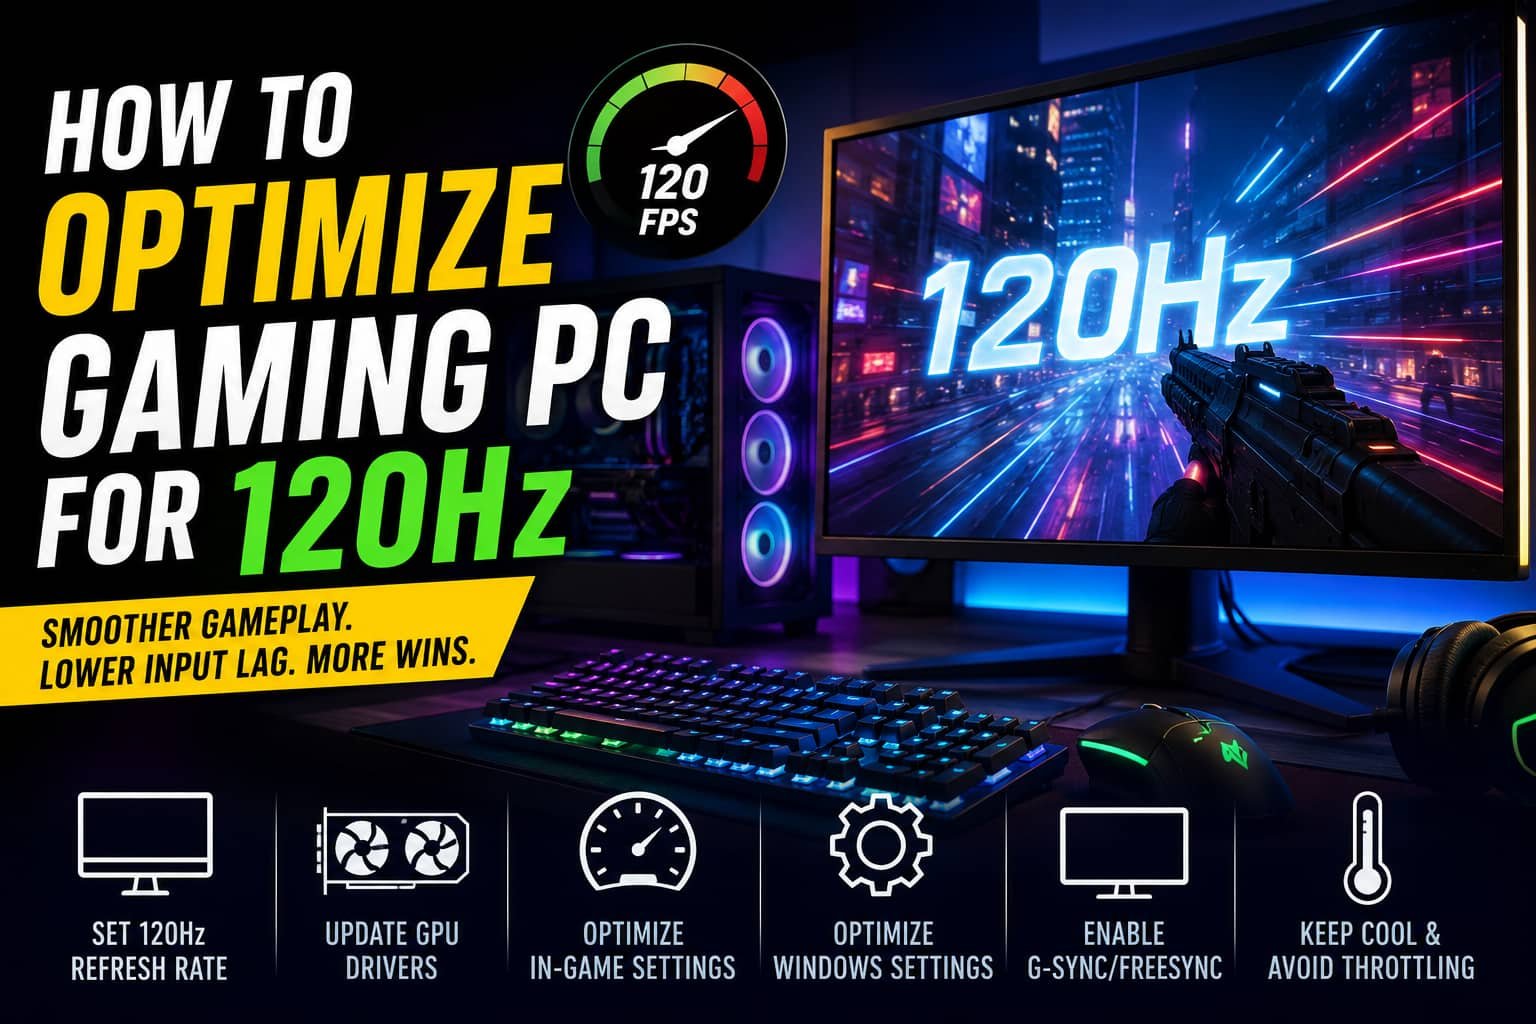
Here’s exactly how to optimize your gaming PC for 120Hz gaming performance.
First, Make Sure Your Hardware Supports 120Hz
Before changing software settings, confirm that your monitor, cables, GPU, and CPU can actually handle 120Hz output.
A surprisingly common issue is gamers buying a 120Hz monitor but still running at 60Hz because of the wrong cable or incorrect Windows settings.
Check Your Monitor and Cable
For high refresh rate gaming, bandwidth matters.
Use:
- HDMI 2.1
- HDMI 2.0
- DisplayPort 1.4
- DisplayPort 1.2
In my testing, DisplayPort usually provides the most reliable 120Hz performance, especially for 1440p gaming and adaptive sync technologies like G-SYNC and FreeSync.
Avoid older HDMI 1.4 cables because they often limit refresh rates at higher resolutions.
If you are gaming at:
- 1080p → Mid-range hardware works well
- 1440p → Requires stronger GPU performance
- 4K 120Hz → Needs high-end hardware
GPU Requirements for 120Hz Gaming
To truly benefit from a 120Hz monitor, your GPU should consistently push over 120 FPS.
For 1080p gaming, cards like:
- NVIDIA RTX 3060
- AMD RX 6600
can perform very well in most modern titles.
For 1440p or 4K 120Hz gaming, you will typically need stronger GPUs such as:
- NVIDIA RTX 4070
- AMD RX 7900 XT
In my experience, GPU utilization and frametime stability matter more than simply chasing ultra graphics settings.
Don’t Ignore the CPU
A weak CPU can bottleneck your graphics card and cause FPS drops, stuttering, or unstable frame pacing.
Good pairings for 120Hz gaming include:
- Intel Core i5-13400F
- AMD Ryzen 5 7600
Competitive games like Valorant, Fortnite, and CS2 rely heavily on CPU performance, especially at lower resolutions where frame rates can exceed 120 FPS.
Enable XMP or DOCP in BIOS
One optimization many gamers completely miss is enabling XMP or DOCP in BIOS.
RAM often runs below its advertised speed by default. Enabling XMP allows your memory to operate at higher frequencies, improving CPU performance and FPS consistency.
In one of my own builds, enabling XMP increased average FPS noticeably in CPU-heavy multiplayer games.
To enable it:
- Restart your PC
- Enter BIOS
- Find XMP or DOCP settings
- Enable the profile
- Save and restart
For high refresh rate gaming, memory speed can directly impact frametime stability and render latency.
Update GPU Drivers and System Software
Outdated drivers are one of the biggest causes of poor gaming performance.
NVIDIA Users
If you use NVIDIA hardware:
- Open GeForce Experience
- Install the latest Game Ready Driver
- Enable G-SYNC if your monitor supports it
Game Ready Drivers often include:
- FPS optimizations
- latency improvements
- shader cache updates
- game-specific fixes
AMD Users
For AMD GPUs:
- Open Radeon Software or AMD Adrenalin
- Update drivers
- Enable FreeSync
- Check Radeon Chill settings
Be careful with Radeon Chill because it may accidentally cap your frame rate below 120 FPS.
Enable Hardware Accelerated GPU Scheduling
Windows now includes Hardware Accelerated GPU Scheduling (HAGS), which can reduce render latency and improve responsiveness.
To enable it:
- Open Windows Settings
- Go to Graphics Settings
- Turn on Hardware-accelerated GPU scheduling
- Restart your PC
In some games, I noticed smoother frame delivery after enabling this feature.
Set Windows Refresh Rate to 120Hz
Many gamers forget this crucial step.
Even if your monitor supports 120Hz, Windows may still default to 60Hz.
To fix it:
- Right-click desktop
- Open Display Settings
- Select Advanced Display
- Choose 120Hz refresh rate
This single setting can instantly transform gameplay responsiveness.
I’ve personally seen people buy expensive gaming monitors only to discover months later they were still gaming at 60Hz.
Optimize Windows for Gaming Performance
Windows background activity can quietly reduce gaming performance.
Enable Game Mode
Windows Game Mode helps prioritize gaming tasks and reduce unnecessary background processing.
To enable:
- Open Settings
- Search “Game Mode”
- Turn it on
This can improve CPU scheduling and reduce interruptions during gameplay.
Use High Performance Power Plan
Power-saving settings can throttle your CPU and GPU.
Switch to:
- High Performance Mode
To do this:
- Search “Power Options”
- Select High Performance
This prevents clock speed reductions that may hurt FPS stability.
Disable Background Apps
Before gaming:
- Close Chrome tabs
- Disable unnecessary startup apps
- Stop heavy background software
Apps like Discord overlays, RGB software, and antivirus scans can unexpectedly increase CPU usage.
I usually open Task Manager before gaming sessions and close anything unnecessary.
Tweak In-Game Settings for Stable 120 FPS
Maintaining stable frame rates is more important than maxing out every graphics setting.
A consistent 120 FPS feels smoother than fluctuating between 80 and 140 FPS.
Lower Heavy Graphics Settings
The biggest FPS killers usually include:
- shadows
- reflections
- volumetric lighting
- anti-aliasing
- ray tracing
Reducing these settings can dramatically improve GPU frame output.
I’ve found that lowering shadows from Ultra to Medium often provides huge FPS gains with barely noticeable visual differences.
Use DLSS or FSR
Modern upscaling technologies are excellent for high refresh rate gaming.
Enable:
- NVIDIA DLSS
- AMD FSR
Use:
- Balanced Mode
- Performance Mode
These technologies improve FPS while preserving image quality surprisingly well.
Enable G-SYNC or FreeSync
Adaptive sync technology is extremely important for smooth gaming.
Enable:
- G-SYNC for NVIDIA
- FreeSync for AMD
These technologies synchronize your monitor refresh rate with GPU frame output, reducing:
- screen tearing
- stuttering
- input lag
In my experience, adaptive sync creates a noticeably smoother gaming experience, especially when FPS fluctuates slightly around 120.
Cap Your Framerate Correctly
One advanced trick competitive gamers use is capping FPS slightly below the monitor refresh rate.
For a 120Hz display:
- cap FPS around 117
This improves adaptive sync performance and reduces latency spikes.
You can cap FPS through:
- NVIDIA Control Panel
- Radeon Software
- in-game settings
- MSI Afterburner
This small tweak often improves frame pacing consistency.
Monitor Temperatures and Avoid Thermal Throttling
Overheating destroys gaming performance.
When GPUs or CPUs get too hot:
- clock speeds drop
- FPS decreases
- stuttering increases
Check temperatures regularly using:
- MSI Afterburner
- HWMonitor
Good cooling matters more than many people realize.
Simple improvements include:
- cleaning dust filters
- improving airflow
- adding case fans
- upgrading CPU coolers
In one of my older systems, cleaning dust alone reduced GPU temperatures by nearly 10 degrees and improved FPS stability.
Advanced Tips for Competitive Gamers
If you mainly play esports titles, small optimizations can provide a competitive advantage.
Reduce Input Lag
Enable:
- monitor Game Mode
- low latency mode
- NVIDIA Reflex (if supported)
Higher polling rate gaming mice can also improve responsiveness.
Overclocking
Careful GPU or CPU overclocking can provide extra FPS headroom.
Use:
- MSI Afterburner for GPU tuning
- BIOS for CPU overclocking
Start slowly and monitor temperatures carefully.
Common Mistakes to Avoid
After troubleshooting many gaming PCs, these are the most common mistakes I see:
- Using cheap HDMI cables
- Forgetting to enable 120Hz in Windows
- Running outdated GPU drivers
- Leaving background apps open
- Ignoring thermal throttling
- Using Ultra graphics unnecessarily
- Not enabling XMP in BIOS
- Disabling adaptive sync technologies
Avoiding these mistakes alone can dramatically improve gaming responsiveness
Final Thoughts
Optimizing a gaming PC for 120Hz gaming is about creating balance between hardware performance, system settings, cooling, and frame rate stability.
In my experience, the biggest improvements usually come from:
- enabling the correct refresh rate
- updating drivers
- using adaptive sync
- optimizing graphics settings
- reducing background processes
You do not always need the most expensive gaming PC to enjoy smooth 120Hz gameplay. With the right optimizations, even mid-range hardware can deliver excellent high refresh rate performance.
Once everything is configured properly, the difference becomes obvious. Gameplay feels smoother, input lag decreases, and competitive games become far more responsive.
If you have invested in a 120Hz monitor, taking the time to optimize your PC is absolutely worth it.